If you live under a rock you may not have heard that Jamf released Jamf Pro 10 this week. It is a giant overhaul of the user interface of the web interface and Self Service, so you can basically
chuck all of my old branding the JSS/Self Service stuff in the bin. Phew.
 |
| The new dashboard and UI for Jamf Pro 10. |
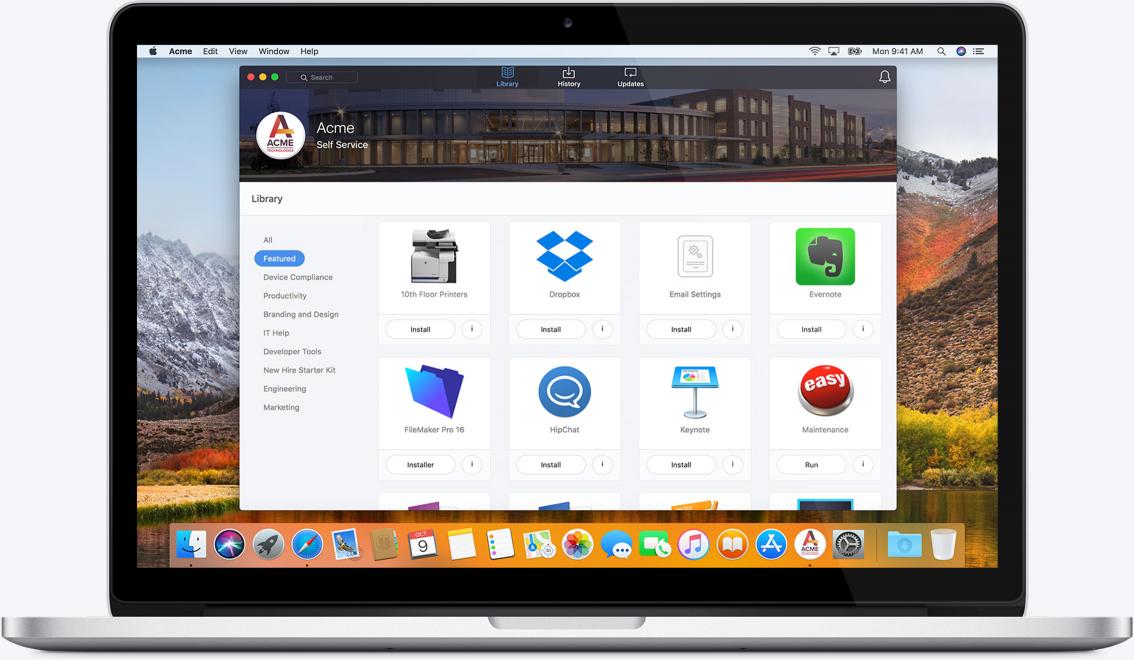 |
| Self Service 10 |
The dashboard is way more visually appealing now, and the use of space of the tiles on the dashboard flows much better than the version 9 JSS. It's a huge change, as you can probably tell by looking at the above. So is Self Service, and something you may have noticed in the stock imagery above is the icon and name within the application are for a company, not just the default Jamf Self Service icon. This is because Jamf has built in branding the application into the Jamf Pro server. No need to download and hack and upload and deploy manually with every update. Hooray!
In Jamf Pro 10, all you need to do is head to
Settings > Computer Management > Self Service, and you'll see a page with Configuration and Branding settings. The very first option is to change the name of the application. If you do this, it will automatically deploy (assuming you have auto-install turned on) the Self Service app with the name of your choice.
 |
| Setting a custom name for the Self Service app |
What's cool about this feature is if you auto-install Self Service and change the name later, on the next policy check Self Service will get "upgraded" to the new name, without a duplicate left behind with the old name. Neato!
As is, you'll get a custom named application on managed macOS devices.
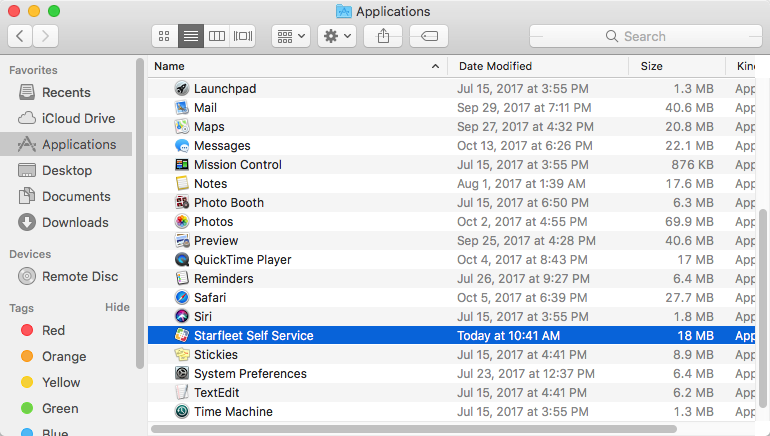 |
| The custom-named Self Service application in the Applications folder |
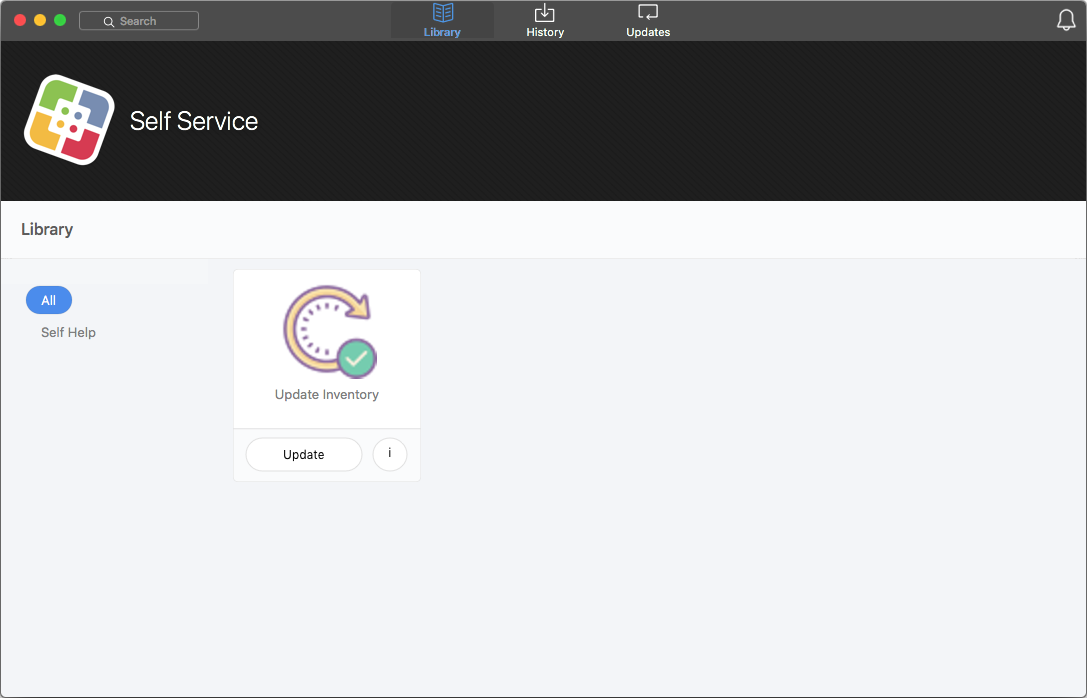 |
| The Self Service application on a managed macOS client |
The really fun stuff, though, is in the Branding tab in the Jamf Pro server. On that page is a drag-and-drop zone to add your custom imagery to the icon (in Self Service as well as for the application bundle and the Dock). So now rather than jumping through a bunch of manual hoops to make your Self Service app look like a company app, you literally just drag and drop the imagery into the Jamf Pro server and the app dynamically updates when it is next opened on a managed macOS client.

Lower on the page is where you can change what displays in the Self Service application header, and you'll get a dynamic preview of what it will look like on a managed client.

After you save your changes, the next time a managed macOS client opens the application it will refresh itself to show the new imagery.

And that's it! That is Self Service branding for Jamf Pro 10. Easy. No more hacking application bundles. Jamf does the hacking for you.
Another thing worth pointing out is policies in Self Service now have some additional options, in particular a Self Service name and secondary button text.
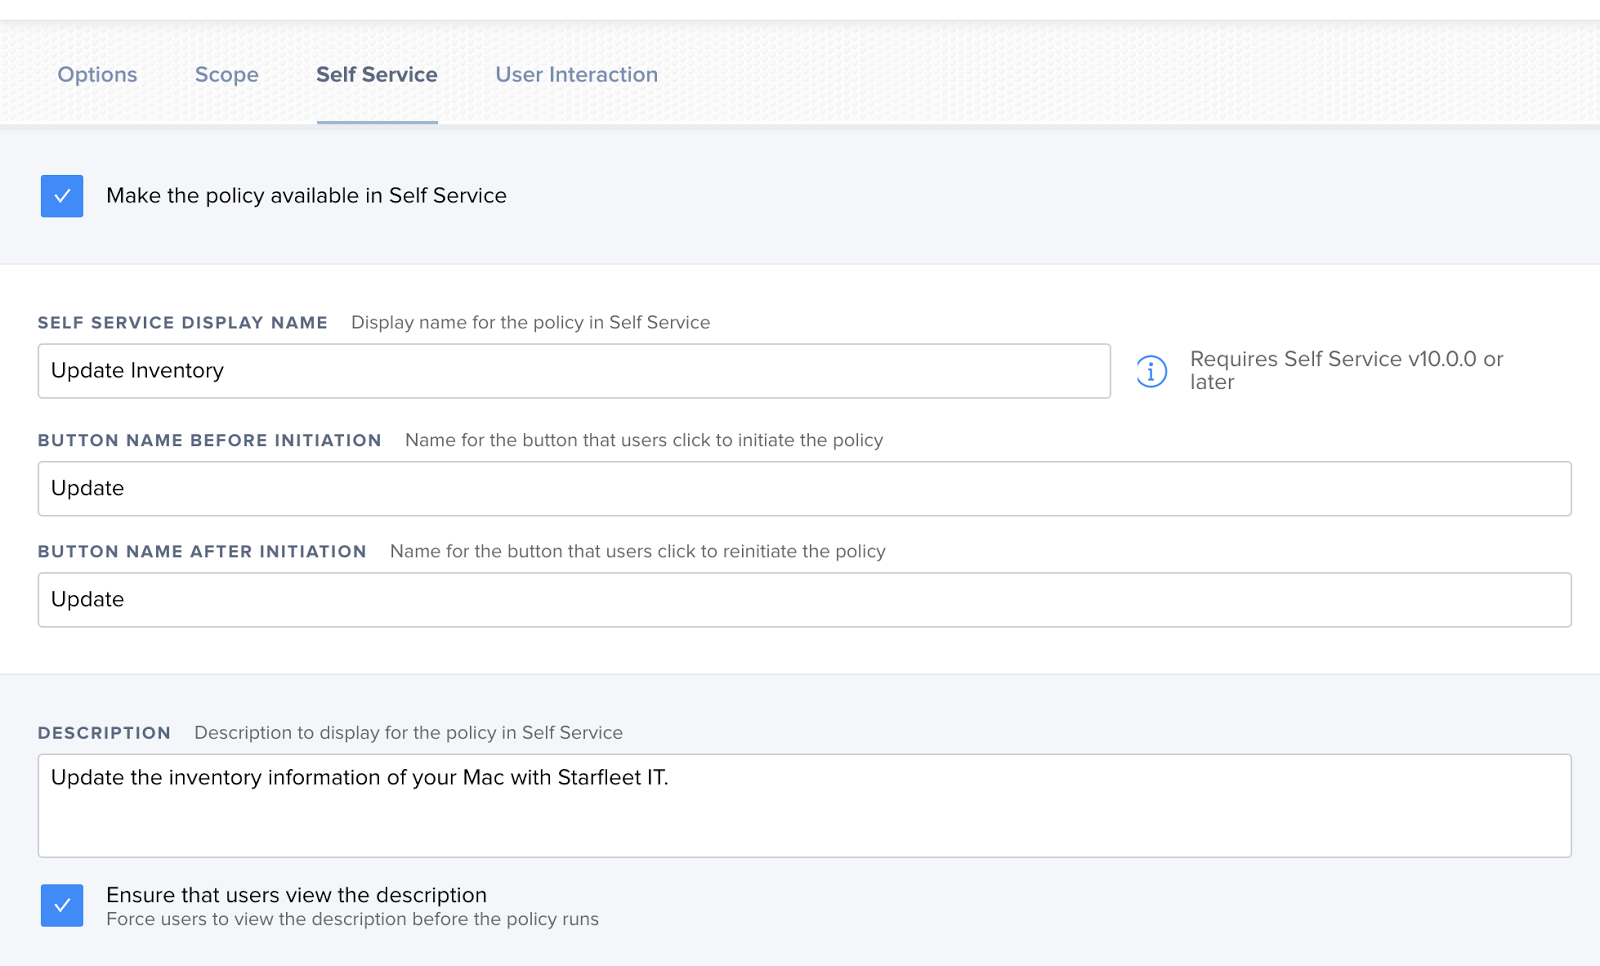 |
| Self Service policy options |
So let's say you have two policies in your Jamf Pro server that both do Inventory Updates. One is based on a recurring check-in, the other is in Self Service. If you wanted them both named Update Inventory it might be confusing to see two copies of seemingly the same policy in the Policy list.
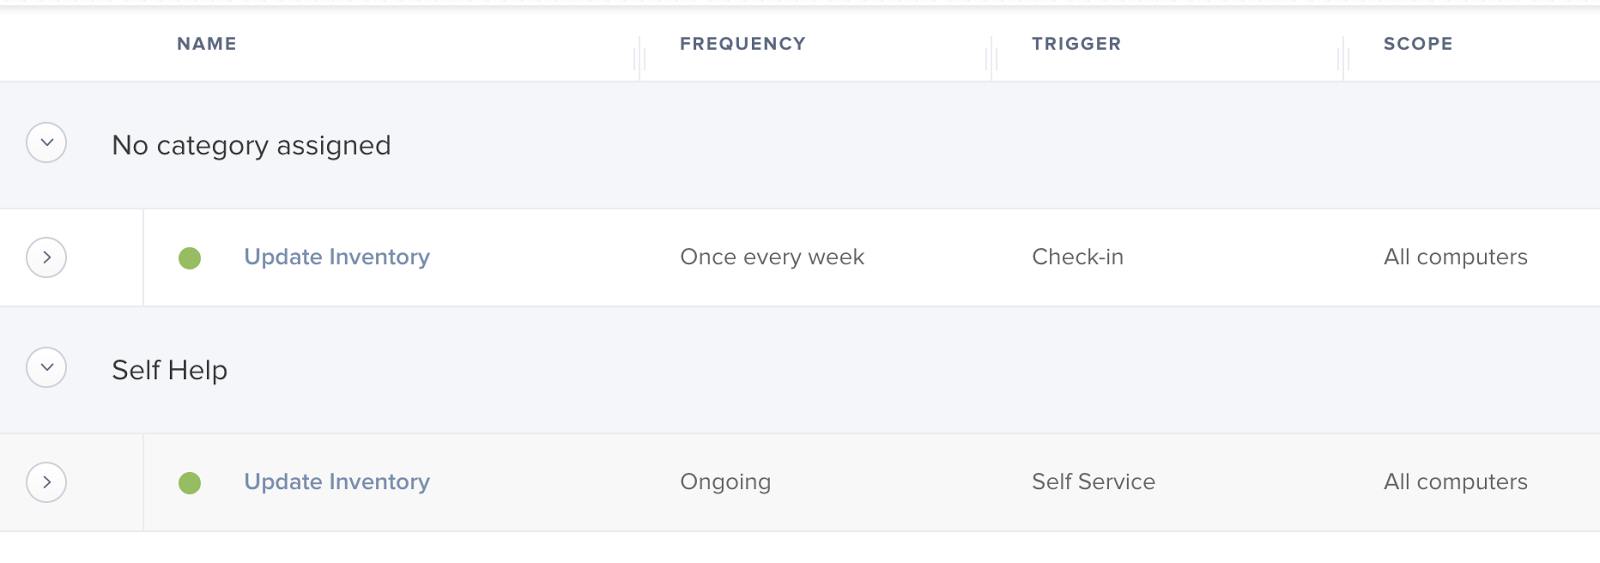 |
| Two Update Inventory policies in Jamf Pro |
Now you can have the policy title and Self Service display name specified separately, making it easier to parse out Self Service policies and non-SS policies without impacting the display name in the client application.
 |
| Two Update Inventory policies, now with added clarity |
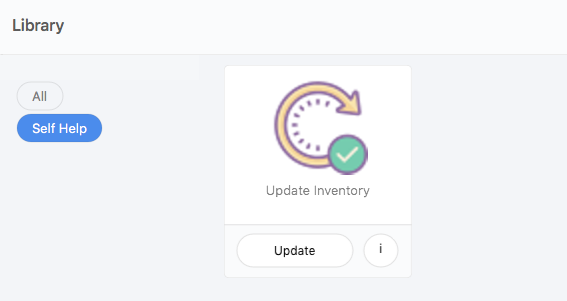 |
| The Self Service display name of the updated Self Service - Update Inventory policy |
I am so happy to not have to manually brand Self Service now. Thanks to Jamf for building this functionality into Jamf Pro 10. Now the fun will be updating that header regularly to spice things up!

Write a comment
Post a Comment